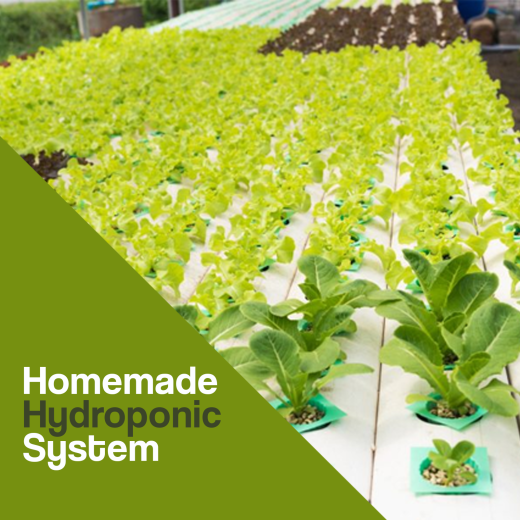
Learn how to grow plants year-round by using a soil-less hydroponic system with this easy guide from APC Pure.
You Will Need:
- Bucket
- Garden Hose
- pH testing kit including pH buffer solutions
- Plants clips
- 50-gallon nutrient tank
- PVC pipe
- Plastic tubing
- Expanded clay pebbles
- Water
- Planting cups
- Stand and trellis made of PVC pipe
- Fertiliser for a hydroponic system
- Pump
- Plants
- Twine
STEP 1 – LOCATION
Locate the hydroponic system in an enclosed structure, for example: a greenhouse, basement of your house or on an outdoor patio or deck. Top Tip: The floor should be level to ensure coverage of water and nutrients to the plants in the system. If placing the system outdoors, protect the system from the elements by providing a wind barrier. Also making sure to check the water levels. During cold temperatures, bring the hydroponic system indoors. If placing the system in an interior room of your house, add grow lights to provide supplemental lighting to the plants.
STEP 2 – ASSEMBLE
The system consists of six growing tubes made of 6″ PVC pipes, a stand and trellis made of PVC, 50-gallon nutrient tank, a pump and manifold. Each growing tube has a drainpipe that leads back to the tank. The manifold sits on top of the pipes and sends pressurized water to the tubes. For the nutrients to get to the plants in this system, water is pushed through a square of PVC, the manifold, and then gets shot out to small plastic tubes that run inside each of the larger growing tubes. The nutrient tubes have very small holes inside them, one hole between each plant site. The nutrients shoot out the hole and spray the plant roots. At the same time, the jet of water makes air bubbles so the plants get enough oxygen.
STEP 3 – MIXING
Mix the nutrients and water in the tank. Fill the 50-gallon tank with water and begin to the nutrients to the tank (as recommended by the fertiliser label). Turn on the pump and let the system run for around 30 minutes. This will ensure all the nutrients have been mixed.
STEP 4 – PLANTS
You may now begin to add your plants. If you don’t have time to grow seeds yourself, look into purchasing seedlings. Start by removing the soil off their roots. To do this, submerge the root ball in a bucket of lukewarm to cool water . Top Tip: Ensure the water is not too hot or cold as this could send the plant into a state of shock. Gently using your hands, separate the roots to get the soil out. Any soil left could clog the nutrients tube.
Once the roots are clean, pull as many roots as you can through the bottom of the planting cup. Begin to add expanded clay pebbles to old the plant in place.
STEP 5 – TIE THE PLANTS
Use the plant clips and string to tie the plants to the trellis. The string will give them support to climb straight up, which helps to maximize the space.
STEP 6 – MONITOR
Check the water levels daily. Check the pH and nutrient levels every few days. Because the pump runs full time, you don’t need a timer, but make sure the tank doesn’t dry out or the pump will burn up. It’s important to keep a close eye on plant growth and tie or clip the plant stalks every few days.
STEP 7 – INSPECT
Look for signs of pests and diseases, such as the presence of insect pests, chewed leaves and foliar diseases. One diseased plant can infect all the others since they are so close to each other, so keep an eye out for this. Even though hydroponic plants are good at fighting off diseases, they still have to fight pests. Even if it’s hydroponic, insects and caterpillars can nevertheless find a way into the garden.
STEP 8 – NUTRIENTS
It is important to give your plants nutrients for them to grow. Below shows a list for nutrients for hydroponics:
- Nitrogen
- Phosphorus
- Potassium
- Calcium
- Sulphur
- Iron
- Magnesium Sulphate Heptahydrate
NOTE: BEFORE USING ANY OF THE PRODUCTS LISTED PLEASE READ ANY SAFETY AND PRECAUTIONS TO THIS PRODUCT BEFORE USAGE.
PLEASE ALSO COMPLETE A PATCH TEST.
APC Pure does not accept any responsibility, this is a guide only.
