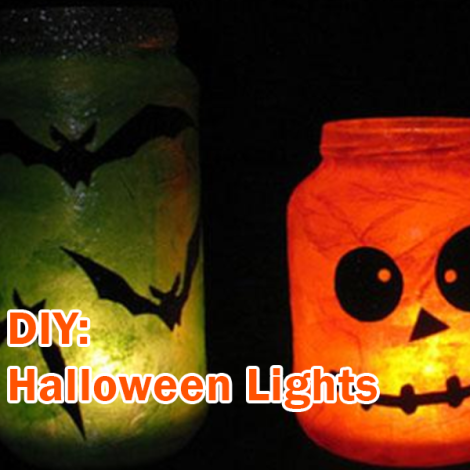
Halloween is nearly here and it’s time to start decorating ready for the occasion. However Halloween can be expensive especially for treats, outfits and decorations. Follow this DIY to find out how to make cheap lights to display around your home for a spooky and surreal feeling!
You Will Need:
- Jars (Choose a variety of sizes)
- Glue
- Sponge Brush
- Tissue Paper (one sheet will be fine to use)
- Black construction paper
- Scissors
STEP 1
Start by applying glue inside of the jar and using teared up tissue paper and begin to start applying this inside. Top Tip: Focus on dark colour for example orange, purple, red and similar colours that are relevant to Halloween.
STEP 2
Make sure to cover the jar ensuring glue is coating the tissue paper. Use the sponge brush to flatten. Continue layering the pieces until the jar is covered.
STEP 3
Draw your designs onto black construction paper and cut them out. Top Tip: Focus on cutting ghosts, pumpkins, eyes and mouth and other similar shapes. To add a sparkle, coat the design in glue then put glitter all over.
STEP 4
Allow this to dry. When dry place lights inside and begin to use. Simply turn the light off in your home and turn the lights on in the jar! Enjoy!