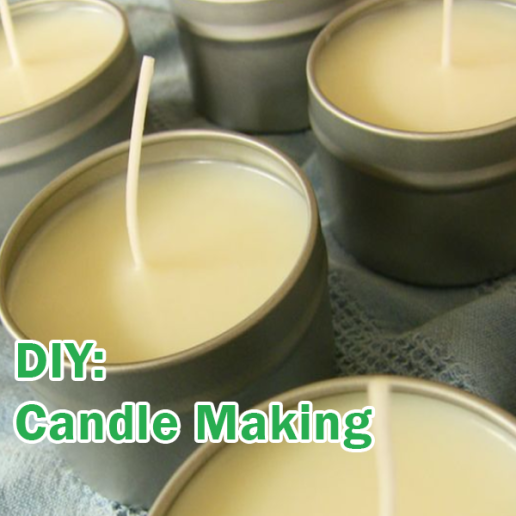
Candle making is not only fun but also makes the perfect gift! Why not make your own DIY candles as gifts this Christmas? Or keep them for yourself for a special treat!
You Will Need:
Wicks (If following this guide, you will want to look at a large wick)
Fragrance Oils
Double Boiler
Containers (Anything that can withstand heat can be used as a container)
Thermometer
Spatula
STEP 1 – PREPARE
Start by preparing the work area as dealing with wax is rather messy. Set up newspaper or paper towels around your work area and set your spatula, thermometer, etc. Have your containers and wicks at the ready as the process is very quick.
STEP 2 – THE WICK
Adhere the wick to the container. As the wax starts melting, it’ll form a pool of liquid. Dip the metal tab of the wick into that melted wax, then quickly adhere it to the bottom of the container. After a couple of minutes, the wax will harden and it will be stuck to the bottom. Alternatively, use adhesive pads. To secure the wick, add for example a closed peg to centre the wick resting on top of your container.
STEP 3 – MELT THE WAX
Using your double boiler, melt the wax. Put a good amount of water in the bottom pan then add about half a pound of wax in the double boiler (this will make the perfect amount to fit in an 8oz mason jar). The wax will then begin to melt, stir and break up the big chunks with the spatula. It only takes 10-15 minutes for the wax to melt but make sure to keep an eye on the temperature. The temperature should be around 85 to 95 degrees Celsius. If the temperature gets high, take it off the heat.
STEP 4 – COOL, AND POUR INTO CONTAINER
Let it cool for a couple minutes. We advise pouring the wax into the container between 75 to 85 degrees Celsius however this is just a guide. This doesn’t take long so pay attention to your thermometer. *THESE TEMPERATURES ARE JUST A GUIDELINE*
Once the wax is cooled, go ahead with your first pour into the container. As the paraffin wax cools it shrinks in size, therefore you will be required to do a second pour to fill the container to your required level.
STEP 5 – ADD FRAGRANCE OILS AND STIR
Pour the amount of fragrance you require into your double boiler and stir for 30 seconds or so to ensure it’s evenly distributed.
STEP 6 – LET COOL AND TOP OFF
As the paraffin wax cools it shrinks in size, you will notice a small sinkhole in the middle, the wax will also be pulling away from the edges of the jar therefore you will need a second pour, topping it off cures these problems. Re-heat the wax that you left in the boiler and top up the candle. Don’t add too much, or you may end up with another hole.
STEP 8 – TRIM THE WICK
You may have a few inches of wick sticking up from your candle. You should trim this down to just about 5mm. (A wick that is too long will burn too big and hot).
STEP 9 – CLEAN UP
Now time to clean up the wax. There will be some in the boiler, on your tools and maybe on your kitchen sides. The best way to clean it is to wipe the wax away with a paper towel while it’s still in liquid form. *PLEASE NOTE: DO NOT RINSE IT DOWN THE DRAIN OR PUT TOOLS IN THE DISHWASHER AS IT CAN CLOG UP YOUR PIPES*. Simply use a paper towel or other disposable rags! Don’t panic if the wax does harden as it will scrape off.
STEP 10 – ENJOY YOUR CANDLE!
NOTE: BEFORE USING ANY OF THE PRODUCTS LISTED PLEASE READ ANY SAFETY AND PRECAUTIONS TO THIS PRODUCT BEFORE USAGE.
APC Pure does not accept any responsibility, this is a guide only.